Friday, February 14, 2014

L O V E


Love is in the air, and lately I've been thinking of, well, things I love! Specifically, "things" I feel like I need. Things, that aren't really things at all; like my family, cuddles and snuggles, creative time and space, good nutritious food, healthy communication... all the important stuff that gets me through life in as effervescent state as is possible. But "the greatest of these... is Love."


It's all I really need.


Everyone knows that Valentine's is the perfect occasion for getting a loved one a little something, like chocolate, or perhaps a beautiful card, maybe dinner out at a fancy restaurant, or my dream: A DIAMOND :-o
However, there are a few people out there who look at this special day more as a marketing gimmick than as an opportunity to make it magical. Those kind of people believe in spoiling everyday, not waiting for holiday occasions, and I'm lucky enough to live with a guy like that.


My sweetie has always been great at making dreams come true. He is usually willing to pick me up a box of chocolate - it fuels my creativity- when he's at the store. He loves to spend an hour or more gazing into my eyes as we dine on an exquisitely prepared entrée while dining out. However! He is completely against the purchase of diamonds because of the hardship their extraction places on miners in impoverished countries. What a Bummer for me!


Enter... my new favorite website to wish list on! The considerate folks at BrilliantEarth.com offer Beyond Conflict Free diamonds, meaning, not only are they considered conflict free, mined ethically and with respect for people, but for the environment as well! According to their website, they even track their diamonds from the source to the store, ensuring they arrive without being entangled in the corruptive practices that can profit from these valuable stones. Brilliant Earth even goes so far as to incorporate recycled and reclaimed gold, silver, and platinum. Wow, I think that's an awesome way to create beauty out of what someone else can't use anymore.


Hmmm... maybe I'll just casually place honey's name on their mailing list...


Here's how I created my Valentine's layout:
 I find it easiest to mix and match patterns and colors when I'm using papers that are all from the same collection. I'm in LOVE with the SEI Alpine wood grain patterns and color tones, so I knew that a few of these tones and wooden textures would form the neutral base of my page. I had this idea of highlighting the "O" and using a heart shape instead. I found a cute double heart on the cut apart sheet, which gave me some more ideas about the colors and embellishment choices to come.
  I also envisioned polaroid style frames around my new Posterboard alphabet stamps by Close To My Heart. Stamped in Chocolate ink on this cream and red grid two or three times to get that dark solid outline, and then shifted the stamp slightly without re-inking to achieve the shadow effect. Then I used my square punch to create identical openings in three brown, kraft flocked rectangles.

I ended up with a lot of these little strips of paper and thought it would be cute to staple them all together and do ... something with them! My staples didn't quite work the way I envisioned, though, and I'd love for you to comment with a use for my little whatever it could be.

To highlight my heart shape even more I framed it in red gingham, and backed it with a square of red. There was a line border pattern going around the red square, and only one line of the box shows... and that is just fine to me! I fussy cut with my exact-o knife around the outside of the heart shape and popped up the outside border with two sizes of dimensional adhesive; thin at the top and bottom, and thicker pop-dots on the sides. I thought it would look more dimensional that it did, so maybe if you try this yourself, either leave off the thin top and bottom dots, or double up the side pops.
Once my polaroid style frames were adhered atop stamped-letter-topped grids, I considered how I would dress them up. Some of my ideas included tying twine around the edge or bottoms, or adding enamel dots or brads, but in the end I added some red chipboard arrows on top of a sticker that I cut into three edge pieces and stuck to the left of each letter. From what was left in the middle of the sticker, I punched two hearts and placed them at the bottom right of my heart's polaroid.
For contrast to all the warm colors, I added some silver Mr. Huey's ink to the background, and then layered silver ribbon, dots, and hearts stickers to each of  my framed groupings. A double dose of hand cut hearts and a peach woodgrain in between put the focus on "L O V E," and left me a little room for my handwritten title add on, "it's all I need."


It's true. Despite all the things I want (chocolate, more washi tape, and yes, Diamonds) and feel I need; time with friends, being surrounded by family, having a creative escape daily, it all boils down to the fact that without Love, I'd be lost.


Check out the upcoming March edition of Die Cut Crazy to see even more fun ways to use the heart shape, Thanks for stopping by, and enjoy a Happy Valentine's!


I love you, Law!


Thursday, February 13, 2014

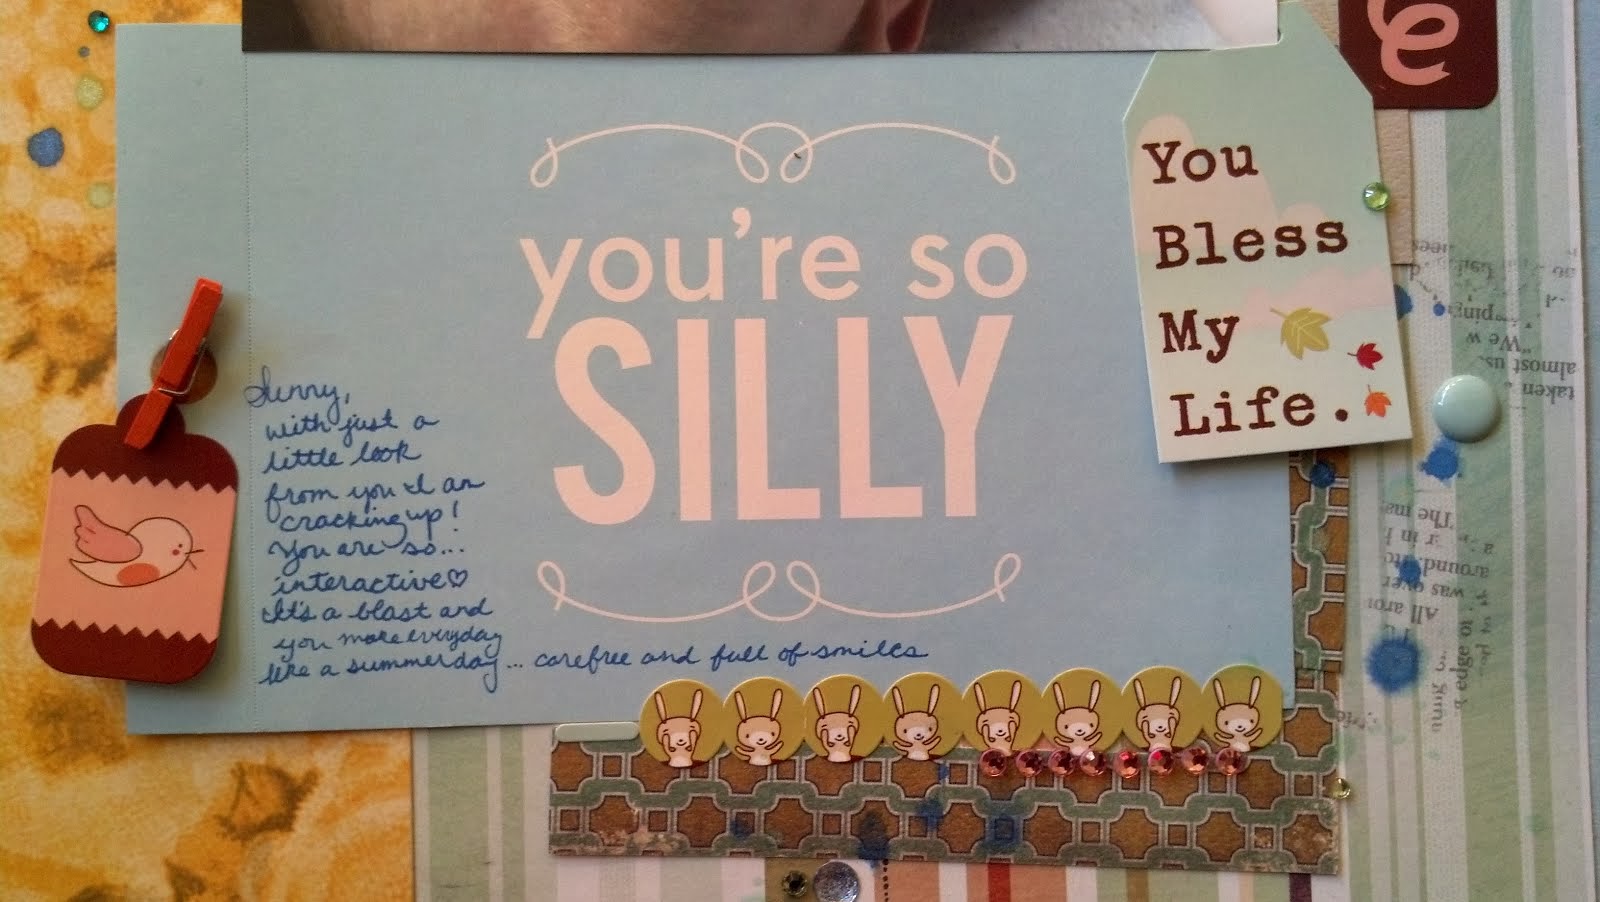
You're So Silly!


That's what I feel like saying to myself when I get down creating two scrapbook pages in less than a couple of hours; "Anna, Why don't you scrap from pre-made kits more often? Anna, Why don't you create kits that include paper and embellishments that can work for more than one layout? Why don't you make it completely color coordinated- or include something from every color! You're so silly to work as hard as you do at finding things that 'go' together, when all these random bits and pieces 'go' just fine (and look just as good)! Why don't you take more candid photos of the kids being goofy?"

Oh, on the last one, I don't take more photos because that really would be silly! I already take about 35 a day, and I do want my kids to recognize my face, not just the camera lens and the blinking red light :-)

Aren't these pages fun? I love the expression here on Sunday's upside down face. Now, what do you think, place the photo so her face is right side, or use it from the angle it was taken? Leave me a comment below on your opinion.
One of the first songs my daughter learned at story time is "Brown Bear..." and even though my title is long, I'm glad to use up all those little letter stickers.  It's worth all the lining up and hoping they'll stick just to be able to capture the lines of a song that we sing a few times a week at this age.
This last week, Shimelle revisited the childhood memory revisiting topic. I love how a tiny prompt can invoke so much of what scrapbooking for me is all about, those all important memories. When it came time for my journaling, I chose to tell the story of how much I loved going to this same zoo and aquarium when I was in grade school instead of just the usual, we had a great time and it was sunny, type of sharing I tend to feel comfortable with.
And the 25 year plus memory recall didn't end there.  Later in the week, I recalled how much I enjoyed getting my hair washed in the kitchen sink by my grandmother when I was little. I was trying to get my daughter to let me do the same for her, but she thought that was so weird (already, at three, I'm Weird?) I was telling my mom, you just don't realize how much you will enjoy telling your children about those small moments in your childhood when you are still the child. I'm so glad my craft allows me to really focus on passing down those stories of my generation to my two girls!

Monday, February 10, 2014

Sketched Translation

Just thought I'd give you a glimpse into my creative process with a look at how I translate sketches into scrapbook pages. This page by Becky Higgins is more simple with colors and linear alignment than my style tends to be, but I was still able to use her layout as inspiration to create my Winter Wonderland Sledding, double page layout last weekend.


Just like Becky, I added a photo strip to the right and journaling on the right. There are a few other similarities, can you find them?


Turning to sketches for inspiration makes it even easier for me to capture the memories I want in my albums. Give it a try; the next time you're thumbing through a magazine, and pause to admire an article, advertisement, or other design, try incorporating some of those ideas into your own creation!


P.S. Do sentiment stickers count as letters?! Cause suddenly I'm not doing so well with my February product challenge :-)

Saturday, February 8, 2014

February Simple Stories DIY Calendar

Every month for 2014, Rainier and I are working together on this DIY Simple Stories based scrapbook calendar for her dad. I think it is so important for him to have a "pretty" place to document his observations and memories of our girls... his notes are like little written treasures!
Well, the idea of providing him with a tool like this came about four years ago at my 2nd Creating Keepsakes Convention.  My Dear Friend and I both purchased Basic Grey's 12 month, put-it-together-yourself kit. She chose to put photos that had already been taken into her calendar, while I chose to wait for a cute photo, taken within the first few days of the month, to accompany the gorgeous mini layouts (each page was 8x8). A tiny bit stressful, yes. The funny thing about giving a gift like this, is that you can't make someone write down their memories...okay, you can, but sometimes suggesting can sound an awful lot like nagging!
I chose another Basic Grey calendar kit the next year, struggled with the same print-in-a-timely-fashion conundrum,  and then decided to skip this creation the following (last) year. The contents were just a little too little, and I was having a hard time with feeling like this wasn't exactly a creation of MINE. Sure, I put it all together, but essentially, each month would look just like my friend's! Not a bad thing, but I was desiring a change. This last CKC, I chose a slightly more expensive, but to me, much more expressive DIY scrapbook calendar to feature monthly snapshots, keep track of birthdays, and yes, provide a place for those all important memories!
Before, I would desperately rush to put together the calendar days before Christmas (why do we do things like that?!). So the best part of creating it usually felt like the act of finishing it on time! This version is being created monthly, and the best part of the process is that Rainier and I are doing it together. She puts most of the stickers on, cuts the paper, chooses papers, and on this month, it was her brilliant idea to tuck that row of photos she chose behind the polka dot paper strip. Like any Fancy Nancy loving three year old, she also thought it was necessary to apply a lot of bling to that printed banner!
Sometimes bossy mommy threatens to ruin the creative process we are enjoying, but this session went spectacularly, and ended with her saying, "I want to do another calendar next!"
I'm looking forward to it too, sweetie :-)

Tuesday, February 4, 2014

Product of the month for February


I decided at the beginning of the year that each month I would focus on a different product, and try my darndest to include that featured product on all my projects. In January, I chose to focus on bakers twine. I love how easy it is to use, and the variety of colors in my stash were incorporated into nearly every project, so yea me!
This month I was hoping that some of the blog hop commeters would give me a suggestion, but my wheels have been spinning trying to find the answer myself.
I kept coming back to "paper." Now, does that sound like a challenge? Heh heh, me neither :-)

 This morning just as I selected a representative photo of using different papers, I changed my mind and have decided my product of the month for February will be...
(Drumroll)

Superbowl Champs Card for Ed in NJ
LETTER STICKERS!
And paper.
Together.
So let's Sea(hawks) what comes of my personal challenge this month!
Thanks again to all the people who left lovely comments on my post for the DCC blog hop this weekend!
-Anna

Friday, January 31, 2014

DieCutCrazy Valentine Blog Hop!


Welcome to the Die Cut Crazy Magazine Valentine Blog Hop. I and the other designers have made some wonderful Valentine projects to inspire your own  crafting with your die cuts. If you just joined our hop, be sure and go back to the Die Cut Crazy Magazine Blog to learn how you can enter to win a prize from Die Cut Crazy Magazine when following the hop from designer to designer.  
 I have two projects to share with you, first, a scrapbooking process video using a square punch to dress up a background:

This is a two page layout- the half you can't see is where I used my punch (of course)!


 Next, I'm sharing with you a Memorial Scrapbook page! 
What A Guy 12x12 Scrapbook Layout
Now, scrapping about a departed friend may not be the typical way to lovey dovey up your albums, but I was inspired around 6:00 in the morning on Thursday to create this for my best friend and her daughter, who I know continue to love and think of this amazing guy all the time. I hit facebook and pulled off some pictures from his sister's album, and then I found some really nice comments and rememberances that seemed to sum up some of my own memories about him.
You can see that I also used a few heart punches and die cut letters as well.
Here's a fun tip: when you're pulling your die cut letters off a big sheet, pull Towards yourself. That way if the paper tears (as it always seems to do) the tears will be on the back of the letter instead of across the front.
Another fun tip: go around the outside of your letters with a coordinating marker. In this case I used a black marker around the edge of the black letters. It's a very subtle way to get rid of those chits left behind without using your scissors :-)
I wanted to show you how I went about printing on my 3x4 die-cuts by Me & My Big Ideas. First, I added the photos and phrases to a word processing document. Once printed, all I had to do was adhere my die cuts over those printed areas with some repositionable glue. I used Herma dots. Put the printed-on paper back in your machine with the die cuts stuck down, push print again, and Voila! Custom die cuts!
Sometimes I get a bit lazy when it comes to technology, so in some places I just punched out the space I desired and glued down the cut journaling strips or pictures with my trusty square punch you saw me using in the video.

My last little tip today is also a bit of a lazy admission: I love the look of sewed paper, but I don't want to get my machine out. So what do I do? Well sometimes I use some rub-ons, but usually I can draw some very nice dash lines and I get a terrific effect! You can see below here how I just set my Tim Holz ruler down on the page, and with a red Creative Memories pen, I drew dash lines. I usually turn or angle the ruler a couple times to make it look like I ran it through the "machine" a couple times. Most times, people looking at an embellishment like this won't be able to tell its not actually thread!
Thanks for stopping by the Die Cut Crazy Magazine Valentine's Blog Hop. I hope my projects inspire you to create your own lovey- dovey Valentine project.  Please leave a comment to let me know you stopped by.
I'm hoping you will  give me some ideas about what product I should feature in every project this month!
Next up in the hop is  Allie. Go see the amazing project she has prepared for you to enjoy!
 If you just joined the hop, here is a list of designers so you don't miss any. Remember, if you leave a comment on each blog, you will be entered to win a six month subscription to Die Cut Crazy! Good luck :-)


Die Cut Crazy Magazine  http://diecutcrazymag.com/


Thursday, January 30, 2014

Advertisement Repurposed

I love a chance to use a bit of advertising in my projects, and once I realized the Lumber Liquidators flyer had all these choice samples of woodgrain in them (drool), I quickly started adding large cuts to my stash box.
My coworker will receive this on her birthday, along with another repurposed item I worked up for the February 2014 Valentine's themed issue of Die Cut Crazy. Be sure to check that out, I'm really proud of how it turned out!
You can see that I've made a little garden out of die cut Close To My Heart flowers, with enamel bling centers, and a cute butterfly flying about, trailing a few pearls. For some extra dimension I added my theme product of the month, baker's twine. Then I stamped the Celebrate phrase onto some scraps cut into banners. Pretty much anything outdoorsy, I put banners on!
 Anyway, these office cards get passed around for everyone to sign, and my card has a lot of delicate layers of embellishment on it. Imagine my horror at thinking of all the blings and flowers flinging off as the card slides in and out of an oh-so-secretive envelope. So, instead of walking it around personally to ensure no damage ensues, I sealed the top of the card with a bit of packaging cellophane.
Around the outside edge of the card I ran four pieces of double-sided Scrappy Tape. It has a peel off backing, so once I had that off, I could lay the packaging plastic right on top, and then trim off the excess. This worked beautifully and it felt awesome to hand it off for circulation care-free.
Tomorrow I'll be uploading a new movie (yeah!) and then on Saturday morning you can blog hop with the DieCutCrazy contributors as we share fun Valentine's tutorials.
My projects will feature some different ways to incorporate punched shapes in your backgrounds, so find a couple of your favorite dies or punches or cut files or whatever, and lets craft together!