Wednesday, January 28, 2015

Basking in the Sun

 Ahh fall, I know you're not long gone, but I sure do miss you! I miss the crispness in the air, the warmth of the afternoon sun in the windows, and I still have a lot of fall embellishments from 2013 to use...
but wait, this is Washington's warmest winter on record! And the air is still crisp and the warm days have kept on coming! Oh yeah, and I STILL have a lot of fall stuff in my stash lol.
When I saw Rainier getting a sun tan on the living room floor, it reminded me so much of a few pictures of myself at just about her age, doing the same thing on the deck of what would become a sunroom on the house I grew up in. In my mind's eye I can still feel my puffy purple coat cushioning my back as my big poodle mix Daisy sniffed about me.
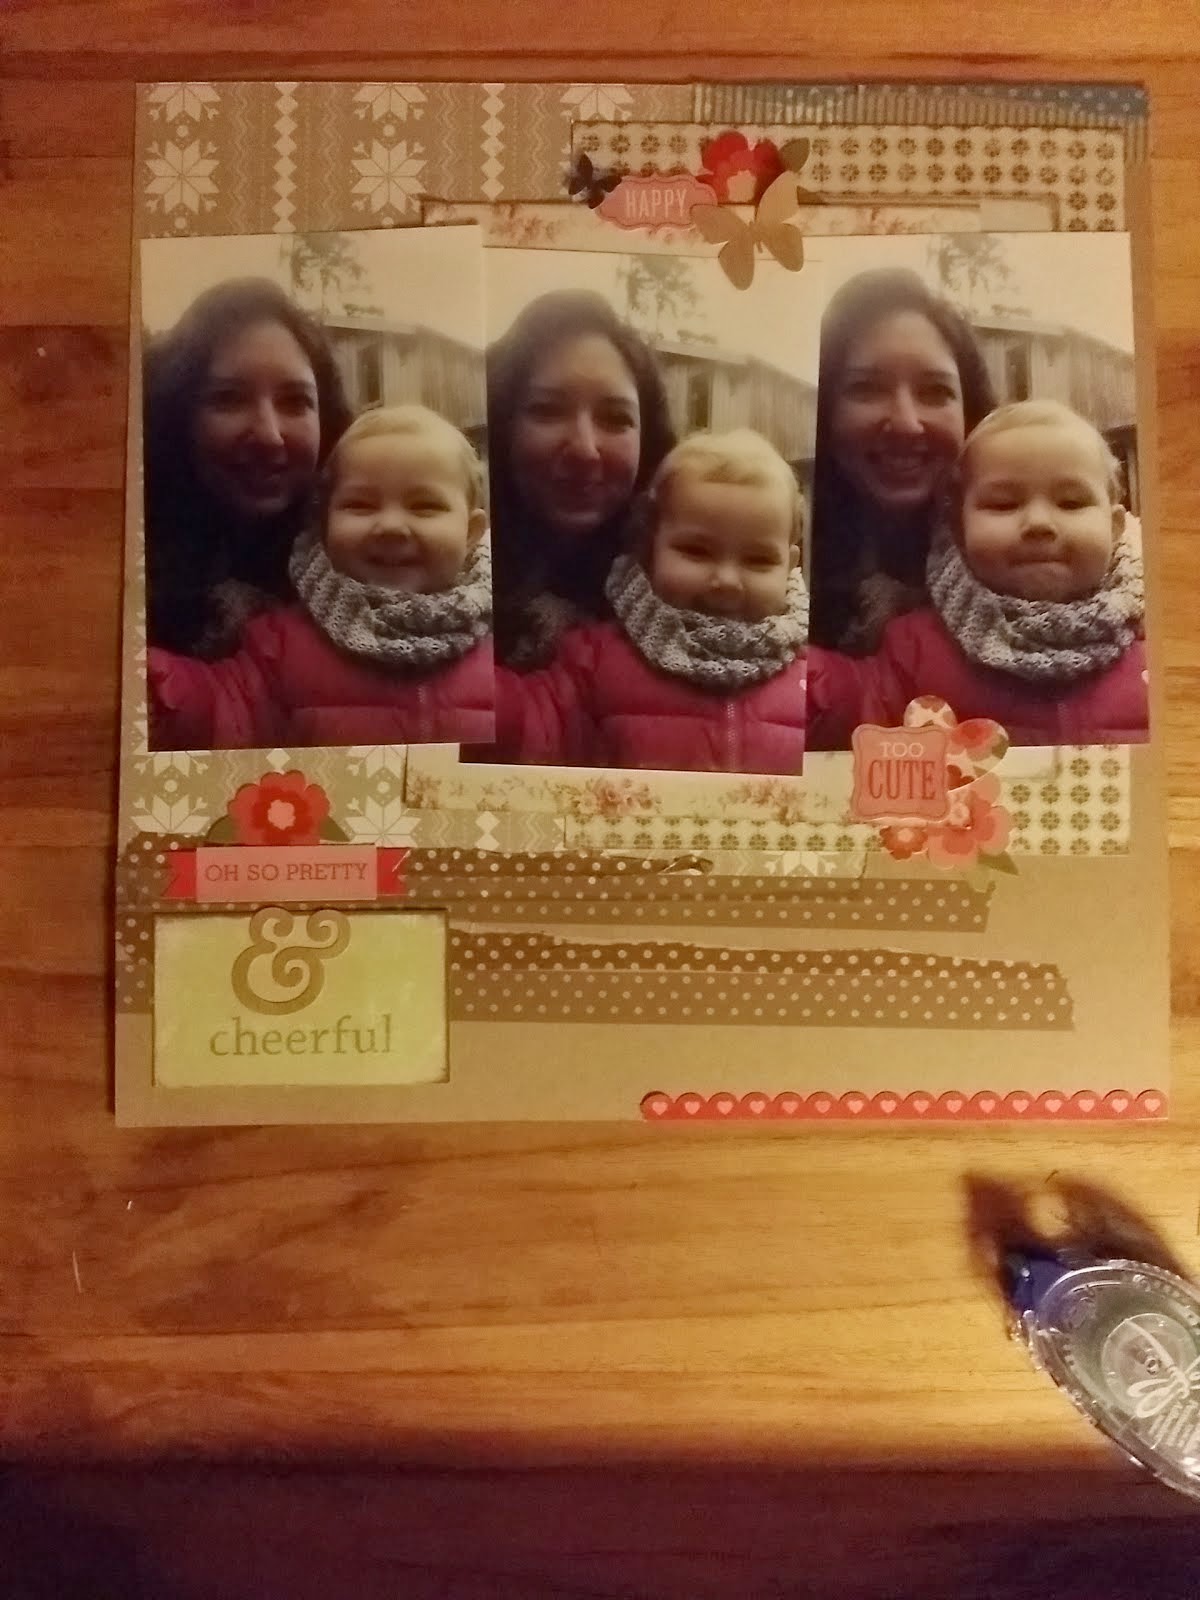
Rainie loves to get her Vitamin D au 'natural, and we look forward to playing with the sun as it falls through our living rooms picture window. Have you ever had a scoop of sunshine poured over your head? Or drank a warm cup of sunlight tea? Those are just a couple of the cute ways she's taught me to enjoy God's radiant light. That love is echoed with the border strip punched with hearts running down the page. I'm a fan of Jen Gallagher who usually includeds a tied piece of twine on her borders somewhere. I'm an even bigger fan of lifting cute ideas like that so with all those bordering bits I figured this was as good a layout as any to attempt that look. (Success!)

I had to reflect some of the sunlight's sparkle on my page and there were a few items in my stash that I've been holding out on using due to their high glitter content, like those bright green thickers.  Long titles can be tricky, so I tried to use complimentaryy colors there, as well as the natural cork thickers to balance all that glittery goodness.  I was also mindful of stacking my phrases so that all the letters fit into a block shape of sorts. You know I love to use my trash, so look up at the top of my title and see how I used my paper's manufacture's strip as part of that design.
Part of the reason embellishments like that large subway-art typography piece doesn't usually work for me is that I feel like the words all have to be relevant to my family or the pictures I'm working with. Don't know why I hadn't thought to do it before, but I simply used some sticker phrases to cover up words that didn't fit my layout and voila! I had the perfect glitter backed piece to include on this page.
There is a little hidden journaling card as well. There isn't really anything on there that needs to be hidden; no super sentimental gushings or words I'd rather not have read by the average lookyLou, but with so much text already on the page, I felt it best to tuck my handwriting away. I've had that little envelope on my desk since last spring anyway so it was time to find it a home!
Do you remember sun filled days from your youth? Does it seem like you were a lot younger even just a few months ago? Go digging in your supplies for some sun themed embellishments and brighten up a winter day with sparkly memories. Or, find a picture that is the epitomy of a good time for you and touch it up with a photo flare! There's an app for that- I like to play with Android's LightEffects.
Thanks for stopping by today and I hope you get inspired to punch a border, tie a twine, or stack some fonting! Hey, if it's crafty, its good, right? And if it brightens your day, that's the best kind of crafty there is :-D


Saturday, January 24, 2015

Daddy Daughter Date Night


Dad's don't always get the credit they deserve for doing something wonderful for their daughters, so I want to be sure to highlight something sweet Ray did last week.
Rainier celebrated her 4th birthday with a weekend of slumber party fun with me over at my mom's house, including a trip to the Symphony, lunch out with friends, and a big party after worship at church.
As much as I enjoyed spoiling her with mother daughter time, I couldn't help but feel that our better halves were home missing out. True, we would be hosting a Tea Party for her friends on her actual birthday of Monday the 19th, but I was relieved nonetheless when dad mentioned his plan for a Friday date night for he and his oldest gem.
After a short morning's work under a few horses, he drove home, showered, and packed up their organic popcorn treats, and with Rainie decked out in date night finery they headed to the Harbor for their evenings activities. Shopping, movies, and dinner, just what any lady likes!
While they were gone I had so much love in my heart at the thought of their good time that I had to fashion up a card to show how much I appreciated his thoughtfulness. The perfect sentiment popped out of my stash, but I wanted the background to reflect my heartstrings' song.
Anchors are such a strong symbol. Not only do they reflect his maritime joy but are a true reflection of his importance in our lives...although it may be my love of Washington that has anchored us here for now, he is the foundation of our family upon which most of our philosophies and habits are set.
Often times while I am preparing to make a card, I will glance around my desk to see what leftovers I can use, and my eyes fell upon this Basic Grey sticker sheet. The stickers have long since been used up, a recent trend I've pounced upon btw, and it seems a waste to toss the left over "frames," so there on my desk this sheet sat. I love grid designs, and when I layered the sticker backing over my anchor printed background, I loved the look so just went with it. I did end up turning the backing a couple of times to get the placement right.
An enamel swirl, some blingy bling and I was almost done. After adding some distress ink to the sentiment strip it felt like this card was ready to be hidden in plain sight for hunny to chance upon.
Thanks for celebrating an inspiring dad with me today!
 

Thursday, January 22, 2015

Inspired by...Colorful Corners Card

This Danielle Flanders inspired watercolor card was created with just a few stamps and my gelatos.  I've been really trying to use those magical marking crayons for more than just looking at! So simply scribbling a bit on my craft mat, adding a misting of water and then dunking my paper in swirling motions over that colorful mess has been a fun way to experiment.
I started with plain white paper, and colored the entire piece as explained above. Then I stamped with a (recently purchased -gasp) stamp in a newsprint design by KaiserKraft. I didn't try to be perfect with the stamping but I did use Momento black in hope that it wouldn't bleed. I've used this background for about 4 cards so it was effort that paid in multiples!
Using one of the cut pieces for my background, I reached for one of my only flower stamps, a Close To My Heart rose. Stamped that a bit off the page and then used a red and pink gelato/water mix to paint the petals. For the leaves, I simply stamped in green ink and used a watercolor blender pen to pull some of that color into towards the center. It ended up very subtle but that was fine.
Now, I had intended to put a block of patterned paper on the left side of my navy blue card base, but I happened to try putting a remnant from the piece I used over there, and the effect was pretty fab! So I left the card base peeking through and then added a bow in baker's twine by the sentiment. For some extra touchy feelys I layered two fabric flowers with a tiny die cut and topped them with white sequins and a pink Queen & Co. Rock Candy gem.
Although this card had a lot of steps, the effect is gorgeous and simply beautiful. The gelato brings a different depth of color and with a little experimenting, can be just as easy, or even easier to use, than traditional watercolors.
Have you tried these pastel-like tubes of color and had pleasant results? Less than pleasant :0 ?  I'd love to hear about it, so leave a comment below and come back again soon to see what's making in my house!


Thursday, January 15, 2015

Putting a kit to rest with a goodnight kiss


Today I realized there is almost less than one month left until I leave for the sunny waters of the Western Caribbean with my bestie on a scrapbooking cruise... !!! Some of the excitement is finally being allowed to express itself in my compulsive mind list making and various other mental pre packings that I love to indulge in before a big trip.  Hot topics in my head today include clothing, scrapbook tools, and what I want to create while traveling to Cozumel, Belize City, and the Honduras on board the Navigator of the Seas.
My friend and I signed up for this cruise about a year and a half ago, so looking forward to going and having it swiftly approach is throwing me for a loop! Happily, I've developed some systems this last year that will make it easy to know what's important for me to have along. Number one is a great travelling companion. Granted, she may not read a map with confidence that it will produce great driving directions, but my DF has a youthful energy that matches my own. There will be a lot of days when our cheeks will hurt not just from endless buffet munching but all of the laughs shared. We'll be snorkeling and zip lining off shore- scrapable adventures await!
As you can see by this picture, I've made myself quite at home with a few supplies and photos on my tv tray. With just one solid cardstock, and a few patterns and die cuts, I was able to put my February 2014 Embellish It kit to rest and created two pages in a few hours. Since all five pictures used were taken the same day, I scrapped directly to the back of my layout once it was complete, for twice the use from my beloved papers!
Working in my living room late nights (watched the entire Sons of Anarchy only to be left hanging in its gut wrenchingly wrong ending) has taught me which tools I reach for over and over again: my paper trimmer, long handled scissors, adhesive. I can do pretty much anything with whats around with those items! Next comes corner rounder, precision scissors, foam adhesive, glue dots, chalk ink. Standard embellishments include baker's twine and bling! I love 12x12 sticker sheets, they have alphabets and phrases and icons what more can you want? Patterned papers, and cardstock optional. I have never been at a loss for materials on which to scrap when the desire rises.
Now, how to decide which photos to bring along... do I need an album? My kits will be packed in the sleeves...and oh yea, clothes! I found two bikini bottoms and tops that should mix and match well that I can feel confident in, and then fortunately a friend of mine gifted me shorts and blouses that will be perfect for the balmy weather. I chose my ensemble pieces much like I do when building a kit; a few coordinating shades of solids and patterns that coordinate well with embellishments that can be used multiple times :-) I will bring no clothing that needs ironing, so I can smoosh it all in there along with my allowed bottle of wine. Can we say no corking fee?!
Our cruise package is being put together by Gail and Sheri over at Cruise One out of Florida. They are so kind to speak with and hosted a fun giveaway last year which I happen to have won. So, I already have a little cruise-related paraphernalia in stock! As I mentioned, there will be a scrapbooking space available 24-7 for us to set up in, and classes with a favorite teacher of ours, Embellish It!'s Shelby Dredge! She puts together beautiful kits full of plenty of the products I love. I've been looking forward to spending more time with her, especially since interviewing her for one of the last editions of Die Cut Crazy late last year.
Thanks for stopping by today, and let me know- have you taken a cruise and thought later about what you didn't need to bring? Always wanted to go on a cruise and never had the time, money, partner etc? Leave me a comment and then go make something... a boat related theme to your project scores bonus points!

Saturday, January 10, 2015

Color inspiration


A pretty card for a new client came together rather quickly- it's amazing what one can make from the bits and pieces left on the workspace! The tiny scrap of floral printed paper on the left was the inspiration for my colored scraps on this card... as you can see, inspiration can be interpreted as loosely as desired when it comes to my crafting world!
The part to focus on is being able to create based on anything- important to remember when looking at other artist's offerings and being tempted to compare skill levels or products available. Think about what you're envious of; what do you admire about another's gallery? Then collect some product and create something about it!
So, back to my scrap bucket: a previously misted muted purple with Thank You stamped randomly, first and second generation, amongst the droplets. That pink heavy weight cardstock? Old Creative Memories sticker packaging from, you guessed it, that cold foil batik leaf sticker! A bit of teal with holding a jewel from a broken necklace twined on, and my favorite silver Sharpie to accent the grey card base edges.
Go take a look at one of your most used workspace. See anything that, well, goes together? Throw it on a card or alongside some pictures from this week and just Get Crafty! Feeling the need to introduce new products into the mix? Head over for a free make and take at the Michael's store in Gig Harbor this afternoon, Saturday Jan. 10th from 1:30-3:00 pm. I'll be demoing DIY Valentine's for the 12th Man in your life... Go Hawks!